Tuesday, September 6, 2011

Day 10.3: The Road From Gilman's Point...

... to Uhuru Peak is a bumpy one. But first, some satisfaction.
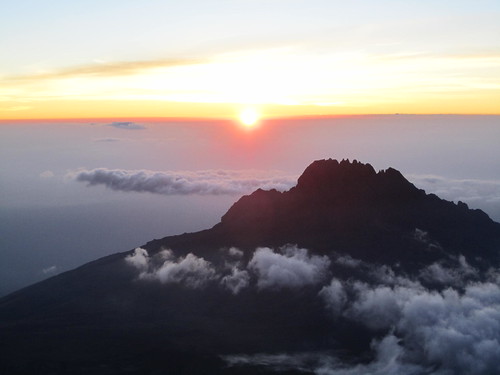
IMG20101012 (016)

I can't really understate how ridiculously deliriously happy we were to make it to Gilman's Point to watch this sunrise.
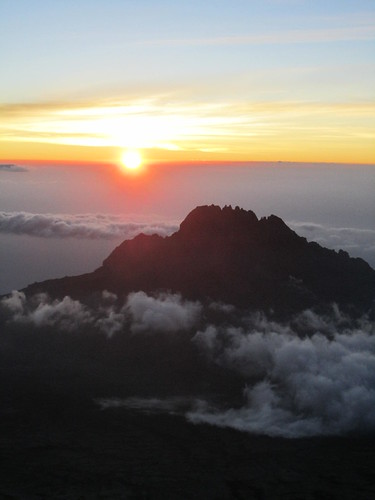
IMG20101012 (017)

Even if we couldn't make it one step further, to see the red African sun rise over Mawenzi peak made the entire journey worthwhile.
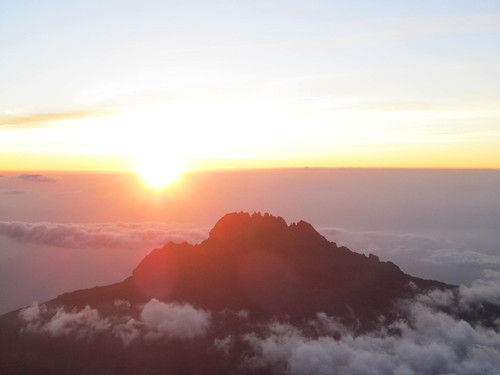
IMG20101012 (019)

I look forward to seeing more of God's creations that rival and eclipse what I saw that morning... but it may be awhile.
IMG20101012 (012)

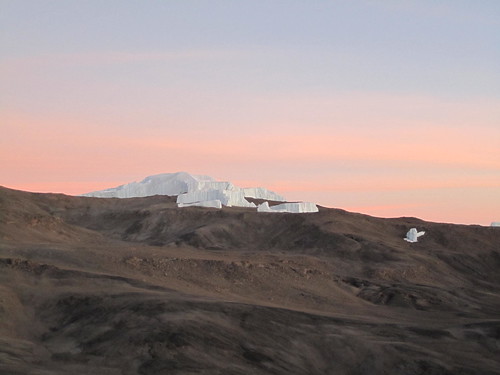
As we turned our eyes away from crater edge into the center of the caldera, we noticed something white in the distance. Ice! Icebergs! Glaciers! Hemingway's snows of Kilimanjaro! Unfortunately, due to global warming, all of our guides told us that the glaciers will disappear in ten to twenty years. Tragic. But selfishly then, I am glad I got to see them. Especially with the awesome, awesome pink sky behind it as the red dust from crater colored the morning sun.
IMG20101012 (020)

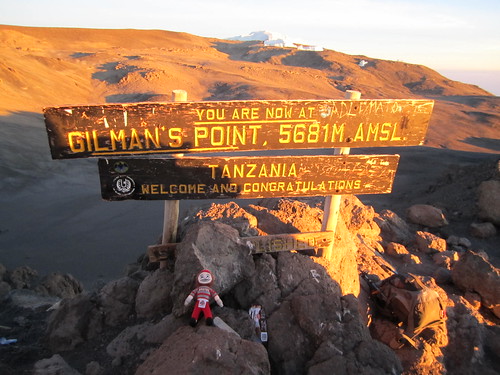
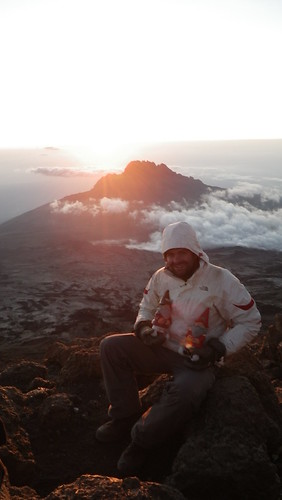
Of course, since we made it this high, we had to take advantage of the opportunity to take pictures as "proof." Here is William with his children "Terpy" and "Hokie."
IMG20101012 (021)

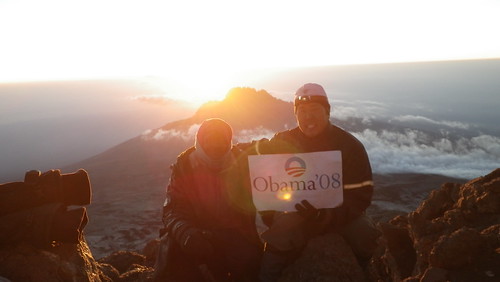
Here is me with Barack, and possibly Barack's long lost uncle cousin, Jonas. See the family resemblance?
IMG20101012 (023)

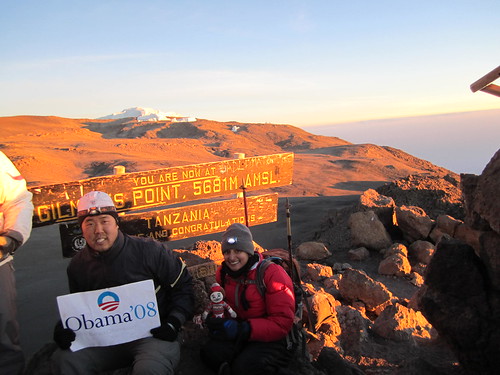
This is us at the sign, doubling up, since there was about a dozen people who wanted to take photos, so we had to be quick... at first.
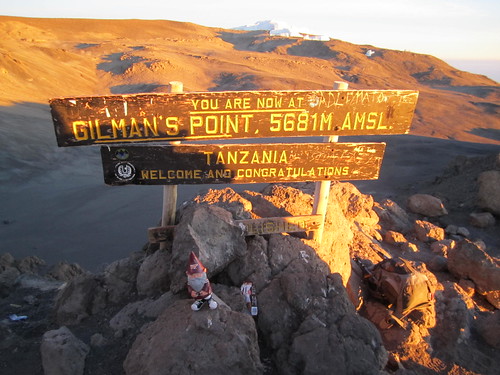
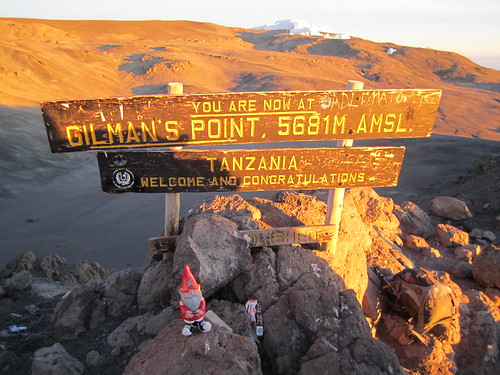
IMG20101012 (024)

But then, the people left, so we took our time. This would have looked better without all the junk around the sign (a common theme, as you will see) but Hokie looks happy nonetheless.
IMG20101012 (025)

As does Terpy.

IMG20101012 (026)

And Brutus. Et tu Brute? Hehe. Had to say it.
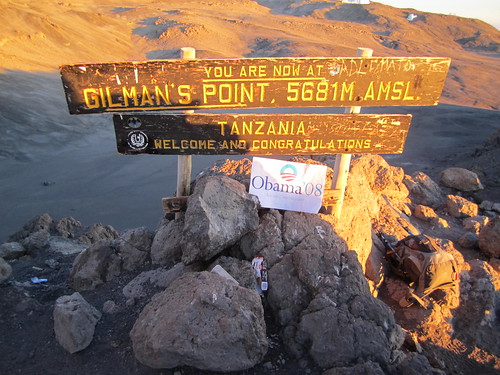
IMG20101012 (027)

And last but not least, Barack, looking a little crooked.
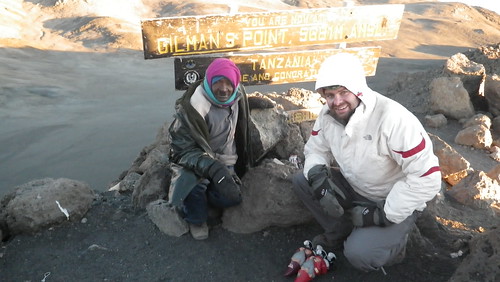
IMG20101012 (028)

At this point, Jonas wanted to be in another picture (he was actually pretty pushy about it, which was sort of out of character, but we didn't mind, since he did get us to the top and all), so we did a last one with William.
IMG20101012 (031)

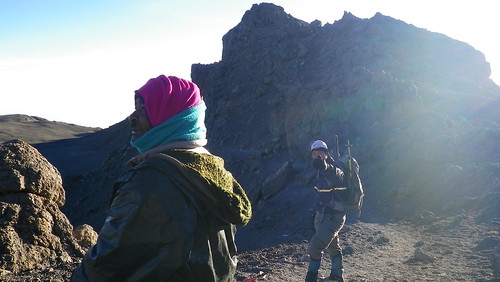
At this point, Jonas asked us what we wanted to do. Our options were to (1) head on back down, since we technically did climb to the top, or (2) head to Uhuru Peak, the highest point on the mountain. While the journey to Uhuru would be flatter, it was still at least two hours each way, and we were at over 19,000 feet - funny things happen that high. Whether it was the high (pun intended) from getting to the top, or just our stubbornness at that point, we readily agreed to soldier on. And so we walked.
IMG20101012 (034)

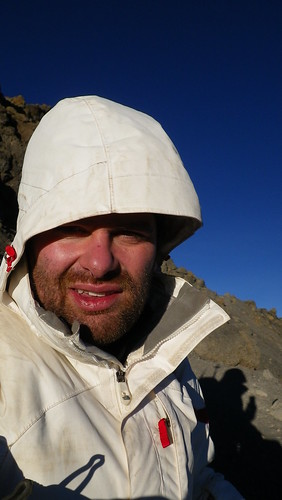
William agreed, but was a little more reluctant. But a trooper, nonetheless.
IMG20101012 (035)

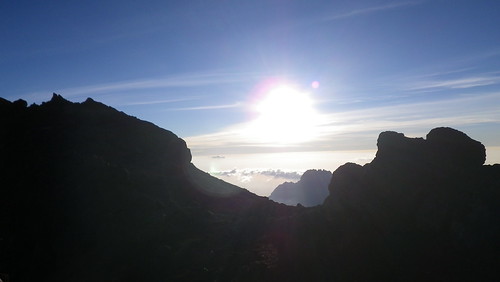
So, we headed down the path, which initially included this uphill between these rocks. Now, the path doesn't look that steep in this picture, and in truth it probably wasn't that steep. But that didn't matter. At 19,000 feet, you get only half the oxygen you do at sea level, so every step was painful. Seriously. It quickly got so bad, that I had to make a deal with myself to continue... for every twenty steps I took, I allowed myself ten seconds of rest. Without that pacing, no way I would have made it. Fortunately, none of us had the other symptoms of altitude sickness yet, except, of course, fatigue. We took frequent breaks about every twenty minutes, but we knew we had to get going while the weather was clear and before the afternoon gloom set in.
IMG20101012 (036)

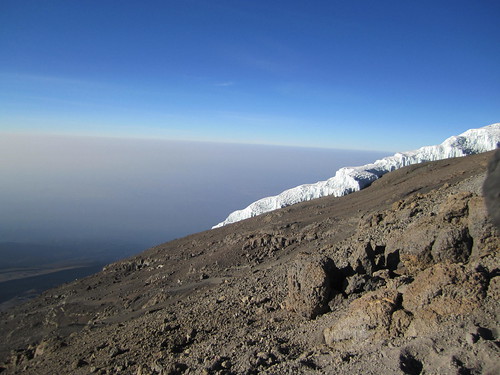
As we passed through the crack in the rocks, we saw another glacier, much closer this time. We also saw the path leading up from the Machame, Mweka, and Umbwe Routes and Barafu Hut below the glacier.

From what we could tell, the path up from Barafu Hut was longer, but less steep than from Kibo Hut. In fact, if you stood right where the paths met and look down, you could easily see Barafu Hut... and the little ants of people coming up the path. That was actually pretty cool.

IMG20101012 (040) PANORAMA

Here is the panorama of this portion of the trek. As you can see, we are high enough that the horizon curves. While it is slightly exaggerated in this photo when I made the panorama, it's actually not that exaggerated, as I immediately noticed the curvature when we made it to the crater rim. It seemed surreal.
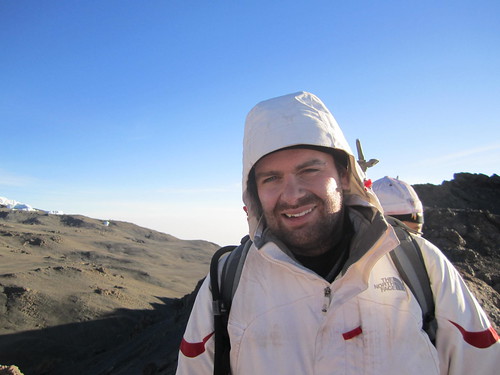
IMG20101012 (038)

As you can see, William is happy about all this...
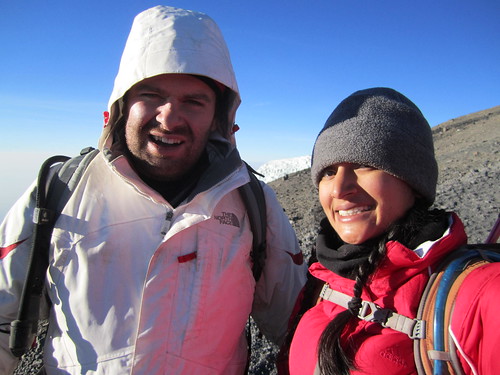
IMG20101012 (045)

... as is Resha. I should note that Resha was the big trooper in all of this. Out of the three of us, while we she may not have been the strongest climber, on summit day, she fared the best out of all of us, keeping the briskest pace along the crater rim, and suffering the least in altitude sickness, despite taking less Diamox than the rest of us. Good job Resha!
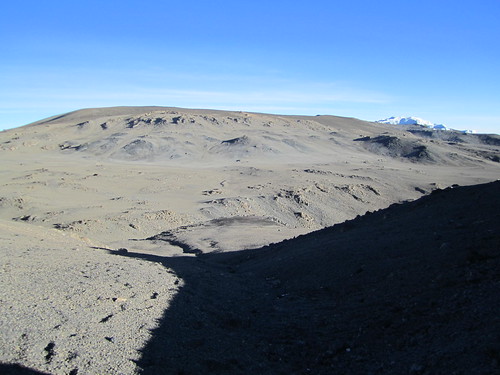
IMG20101012 (041)

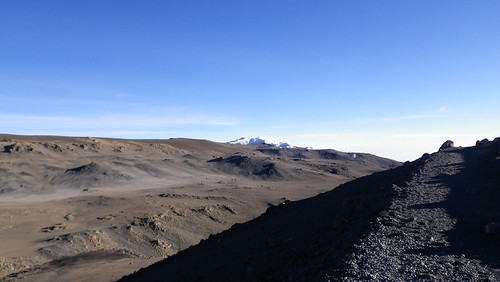
So, one of the things people ask is "how did the top look?" Well, obviously some of the photos I took were spectacular, but they were actually few and far between. Most of the time, the center of the caldera (with the central cone of steaming something in the middle) was the only thing, and boy was it ugly. Like REALLY ugly. Just brown dirt and brown rocks. Desolation at it's finest. This was actually one of my biggest disappointments.
IMG20101012 (043)

The dropoff from the path down to the floor of the caldera a few hundred meters below was actually pretty steep at times. We weren't in any immediate danger of falling over the side, but given that I was so fatigued and had the possibility of getting loopy, it was possible. And I didn't even want to contemplate what it would have taken to climb back up the crater rim if I had fallen down. I think I would have just laid there and let the porters come get me. Seriously.

IMG20101012 (0511) Panorama

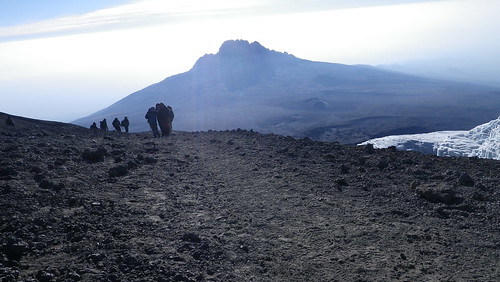
This panorama was the more spectacular view that we passed. On the right is the largest glacier we passed, and to the left is Mawenzi shimmering in the distance. Again. God I love Mawenzi. What an awesome peak.
IMG20101012 (053)

Some of our fellow trekkers coming around the bend in front of Mawenzi.

IMG20101012 (057) PANORAMA

A panorama of the caldera bottom and, once again, how ugly it is. If you look closely, you can see a path roughly starting in the bottom middle of the photo, and then heading to the upper left. That wasn't our eyes playing tricks on us. One of the options on some of the treks is actually camping at the caldera bottom, and that is the path. Not many people do it, since even the caldera bottom is around 18,000 feet, and it really isn't advisable to spend that much time that high, but it is done. The campsite is approximately to the upper left, and joins our path at Gilman's Point on the right. When we were there, we are sure one group stayed in the caldera, because on our way down, we saw a bunch of porters jump (yes, jump) over the crater rim and then run down the path to Kibo Hut. With stuff on their heads. These guys were clearly the cream of the crop.
IMG20101012 (058)

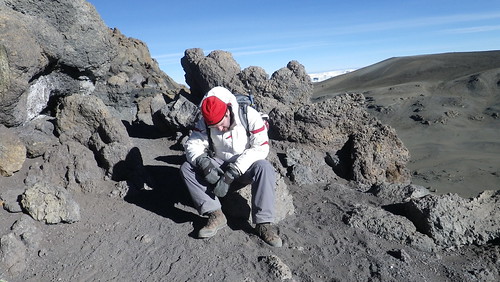
William, on the other hand, was not as buoyant.
IMG20101012 (063)

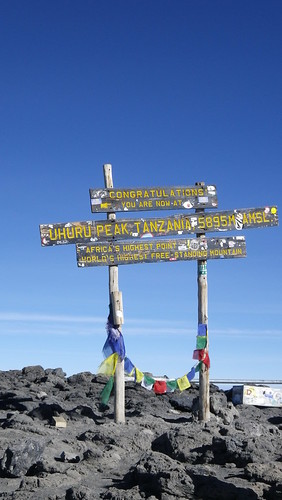
Don't fear William! Have heart! The peak is but a short distance away...

Day 10.2: Summit Day...

... and I have to show the sunrise again (this time, Resha's version), because it was such sweet satisfaction after the seven-hour, ridiculously brutal ascent. More on that below.


Technically, if you make it to Gilman's Point along the crater rim, you can get the official Tanzanian government certificate that says you climbed Mt. Kilimanjaro.

IMGP3907

But we all know that's cheating. The real peak is Uhuru Peak. But that's for next week. This week's post will be about how we got from Kibo Hut to Gilman's Point. As you will see, it will be very light on period pictures because, well, it was freaking dark and we were concentrating every ounce of muscle, mental acuity, consciousness, etc., on placing one foot in front of the other for seven hours.

If you want a general idea what we looked like during this entire time, however, here it is.

IMG20101012 (008)

Beautiful, isn't it? Don't we look happy? BTW, this is only about halfway to Gilman's Point at 3AM. Ouch.

Before we get that, however, I haven't done a logistical post in awhile (or really any substantive posts) so this week's installment is the answer to the question "what equipment will I need to summit?"

Now a couple of things to keep in mind. First, we were trekking during the dry season, as covered in a previous post, so we were a good bit lighter on wet/snow equipment than the average trek. Second, summit day equipment is different than equipment for other days since the day (and weather) is relatively extreme compared to even the preceding day. There is a big difference in climate between 16,000 feet and 19,000 feet.

Onward ho! Let's start with the skivvies.

IMGP3895

The first layer you need is a wicking shirt. One of the biggest mistakes people make is bringing cotton, and in particular, making that the layer closest to your skin. BIG MISTAKE. While cotton when dry and loose is great, cotton in pretty much every other situation is death. This is because when cotton gets even the slightest bit wet, and it will get wet from your sweat, not only does it chafe like crazy, but it takes heat away from your body, leaving a cold rash behind. So, do yourself a favor and wear pretty much any other material except cotton on these journeys.

IMGP3897

This goes for underwear also. I could care less if it's briefs or boxers (helloooo Tisha!), just make sure it's not cotton. This goes for brassiere's too ladies.

IMGP3896

The next layer is a good long underwear. Either polyester (or any synthetic fiber) or wool works.

IMGP3891

For socks, they sell trekking socks (the two lower, lighter colored socks) which have extra cushion at the toes and heel (and are not made of cotton - sense a theme? - this is where cotton actually hurts the most - blister city). I would also recommend an inner liner sock, like that shown above in black. Your extremities get the coldest quickly, and although you could vaguely function without your hands on the trek, it's pretty much over if you lose feeling in your feet.

IMGP3905

Over the long underwear, I opted to go with the layer route, and so went with safari pants. The have a zipper around 1/3 of the way down the leg that can convert them into shorts. I wore them for pretty much 10 days straight (with only one wash), but since it was over the long underwear layer and they didn't really get that wet or dirty, they were still fine to wear.

IMGP3890

Over the safari pants, I put on a waterproof layer. Not much to be said here.

IMGP3904

Resha and William opted to go with ski pants, like those shown above, to put over their long underwear. That is a perfectly viable option as well. I opted to go with the layer method, however, to (1) adapt better to the temperature and (2) to save luggage space. Since the porter's carried our big packs, this didn't end up being a huge concern, but still... I like packing light.

IMGP3906

Over my wicking top layer, I wore a wool thermal layer. Wool is best for heat retention purposes since it creates a lot of air bubbles in the fibers to retain heat.

IMGP3884

At the beginning of the trek, my outer waterproof jacket layer was my last layer.

IMGP3885

As we got going on our trek, however, it got cold pretty quick, so I opted to put on the above wool fleece layer about halfway up (around when we took the above picture where William looks like death). Resha and William opted for ski jackets under the same rationale of the ski pants. None of us got overly chilly, and in fact, we were almost comfortable temperature-wise on the entire ascent to Uhuru Peak. So whatever floats your boat.

IMGP3888

The most important item you could buy singularly for the trek are good shoes. Don't go on the cheap. Pay good money for them. Could you get by on sneakers? It has been done. However, the people who did that told me that the blisters were horrendous, and I can see why. The above low top boots are waterproof, have good padding, and have soles that are very difficult to wear down. They did their job very well.

IMGP3903

If you wear low tops, however, I would recommend gaiters. The ascent to Gilman's Point is essentially a gravel pit with rocks jutting out. Every two steps forward includes a step back due to sinking into the gravel. For low tops, gaiters are essential if you don't want to be fishing rocks out of your shoes every five minutes.

IMGP3889

If you have high top hiking boots, like the ones shown above, however, my endorsement of gaiters is more mixed. The gravel comes to about two or four inches how on your foot, so as long as the boots are high enough, they should be fine.

IMGP3898

Gloves. Probably the hardest thing to keep warms are your fingers, for various reasons. Thus, good waterproof, warm gloves are a must. On a trek like this, liners are also recommended, like those shown on the right.

IMGP3908

Even better from strictly a keeping-fingers warm-perspective, however, are mittens. The juxtaposition of the fingers together helps keep them warm collectively, and you can place a handwarmer in a back pocket of the mittens.

IMGP3899

On your head, you need a good wool cap. I went with the hometown variety, as much as it pained me to give money to Daniel Snyder.

IMGP3892

After boots and gloves, probably your next most essential item is a headlamp. Nothing fancy. Any Petzl brand version will do.

IMGP3902

And sunglasses. It is really, really bright at 19,000 feet.

IMGP3900

So, that's it for clothing. For equipment, you need a good day pack, as opposed to an overnight pack. All you're really carrying is extra clothing, food, and water. The pack should ideally strap around at least the chest (and preferably also the waist) to take weight off your shoulders.

IMGP3901

For hydration, you could just do a water bottle, but a Camelback is best. Not only is it easier to get to water at any time, but you can stuff handwarmers around the pouch to keep your water form freezing, which is the number one problem people told me about who had done the ascent before. I also bought an insulation line and cap for the tube, however, I don't know if they did anything. One thing I think did help was that after each time I finished drinking, I blew all the water out of the hose and back into the reservoir so it wouldn't freeze in the line. Using these methods, I am happy to say that I had enough fluid during the entire hike - about three quarts worth - leaving me free to worry about other things.

IMGP3909

And last, but not least, sustenance. The focus here is on both minimizing weight, but maximizing calories and sugar to give you energy. And also food that doesn't freeze. On the left we have little gel blocks, with my logic being that even if they froze, we could still suck some calories out of them. Next was an energy bar, beef jerky, granola bars, and just some good ole fashioned candy. While the company will provide food for pretty much every other part of the journey, this is the one day you need to feed yourself - so stock up at Costco or REI, and bring it to Africa.

Okay, back to the trek. So what was it like? Well, in a word it sucked the big one, big time. Let me lay it out for you.

  • Our day (night) began at 10:30pm. Although in theory we slept since about 4PM, in reality because it's so freaking loud outside, we got maybe two hours. To it's credit, the camp is pretty quiet at this point.
  • We put on clothes and then get a full meal to eat. Unfortunately, due to the weird time of day, grogginess, and altitude, we eat less than we should.
  • As you walk outside, you can barely make the edges of the mountain in the starlight. It's actually pretty marvelous. You see strings of light go up in front of you, as other groups also begin to summit. If I had to guess, I think about 100 people are going up with us.
  • As we begin the ascent, the first part actually isn't that bad. We go pretty slow (same pace as in the previous post), with a LOT of switchbacks. It gradually gets steeper, however, and more difficult. You are concentrating on the small piece of Earth in front of you, so you think you are on a path being expertly lead by the guide, but on the way back you realize that while there is vaguely a path, it's more a big gravel pit that you can take any number of lines along.
  • The gravel pile sucks the big one hard. Every step up you feel the ground moving from beneath you as you sink in, so you are convinced your using twice as much energy as necessary, between keeping your balance, and picking your foot out of the gravel and reinserting it in more gravel. Imagine doing this for SEVEN HOURS.
  • We take a break about every hour or so. This is most welcome. When we begin to worry, however, is when we seem to be taking more, longer breaks than the other groups as some pass us. Eventually, we realize it is because our guide, Ronald, is sick. He was kind of sniffling and stuff before, but he's in a full on wheeze and convulsions at this point. After about hour three, he collapses and says he cannot go on. Luckily, Jonas is Mr. Bionic, so he takes over our journey. That's Ronald on the left of the below blurry photo, right before he dropped out.
IMG20101012 (000)
  • One thing that made us a little mad when we came back down, is that we saw that the easiest way to climb is following a small rock ridge line that provides a little better footing than the gravel pit. Had we fastidiously held to this line, we would have expended less energy. However, fortunately for Ronald, we were too tired to shake our fists at the end of the climb - and Jonas is just too awesome to be mad at.
  • Our group sticks together pretty well, with Ronald in front (until he drops out), Resha next, William next, then Myself, and Jonas trailing. I stare a lot at William's backside. Other, larger groups, however, don't do so well. At one point, we gain a french guy of Middle Eastern descent we had met the previous day. His group had gone on without him, but he couldn't quite keep up, so he keeps tagging onto later groups. The guides don't seem to mind much. Eventually, however, even we are too fast for him, so he drops back. We saw him when we got back to the bottom, and he didn't make it. Sucks.
  • At around hour 6, the sky gets lighter as the sun begins to rise, and we can actually see where we are going. This is welcome, especially since the gravel pit gives way to actual rocks and boulders, so seeing where we are going is a huge help. At this point, I find my second wind and make it to Gilman's Point a little faster than the others. And what a sight for sore eyes it is.
IMG20101012 (001)

That's the crevass we climbed out of, and that's Mawenzi in the distance as the sun rises. Hell has been conquered... sort of.


More from Gilman's Point next week...